
Welcome to our next installment in our Life Cycle of a Print Job series! This month we’re delving into the part where we actually get to printing!
If you missed the first three parts of the series, you can read the overview HERE; check out the post about quoting and placing an order HERE, and you can learn the ins and outs of Prepress HERE.
Offset
Once the printing plates are made in prepress, the stock and any special inks or coatings have arrived, and we have space open in our schedule, we’re ready to print!
The first step in the printing process is to locate the paper. We can’t print without it, after all!
Then the press is sized for the sheet dimensions and weight we’ll be running for a given job. On the offset press we can run sheets as small as 17 x 23 up to 28 x 40, and from 40# offset text up to 40pt board. The double sheet sensor is activated based on the specs of the paper so if more than one sheet is pulled at a time it will stop the press.
Next up, selecting color profiles! Prepress sends the profiles from the print files to the front end in the pressroom, so they have a good starting point to work from. From there the ink fountains (with the amount of ink needed for each color) are set, as well as the ink keys.
Plates are then punched, bent, and hung.
Now it’s finally time to start running sheets through! But not at full speed just yet, because we have to make ready. Making ready requires we check the sheets for registration across all ink colors, measure ink densities and evaluate color accuracy to our color proofs or a previously printed sample that we’re trying to match. Once everything looks good, we crank up the speed and run, run, run! We pull sheets after every 1,000 sheets to check for consistency, and maintain them as a press bible.
If the job is 1-sided, once we finish running on press, the skid with the printed sheets is unloaded from the delivery and the job is stored in the pressroom before moving to the bindery for finishing. If the job is 2-sided, the next step is to flip the sheets before printing the second side. For Work & Turn forms, we switch the guides on press. For Work & Tumble forms, we switch the gripper. For sheetwise forms, we don’t have to make any adjustments to guides or gripper.
No matter the form imposition, before getting back up to speed on the second side, we check for backup registration, make sure pagination is correct (if applicable), and check for any marking. Once we confirm all is good, we can turn the volume up again! And press bible sheets are pulled on the backup as well.
Digital
With digital print the whole process is a lot less complicated and a lot less time consuming. Which is why it’s a great solution for short run, quick turnaround projects that fit the specs of the iGen. We can run sheets up to 14.33 x 26 (live area 14 x 25.5) and up to 16pt board.
From prepress, the files are transferred to the front end of the digital press. At this point, the files are imposed for production depending on what the job is. Color profiles and sheet counts are set, paper is located and loaded. We print a few test sheets to check for backup on 2 sided jobs, color accuracy and any marking or inconsistencies. Once we are good to go, we set it to run to count! Digital doesn’t require drying time, so once completed and unloaded we can move it to the bindery right away.
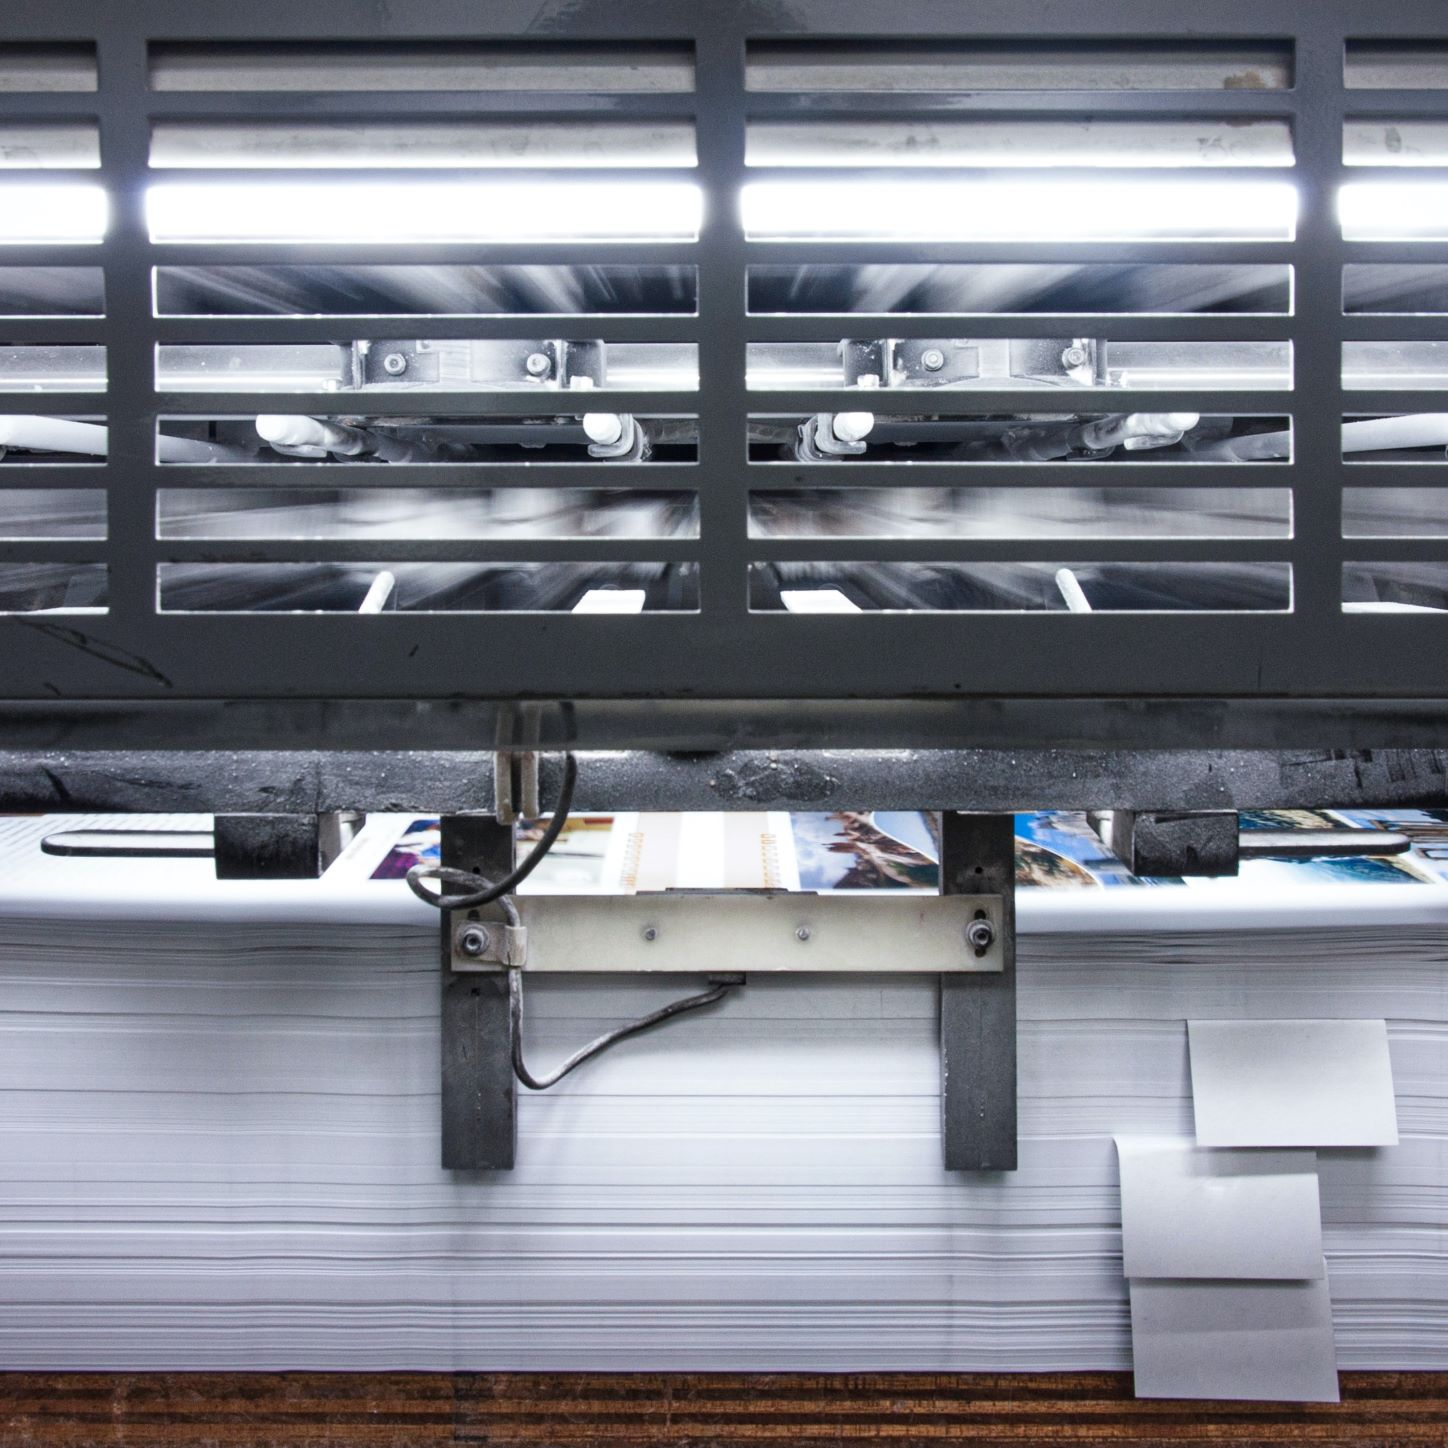
Photo by Srdjan Ivankovic on Unsplash
2 thoughts on “Life Cycle Of A Print Job: Printing”
Comments are closed.